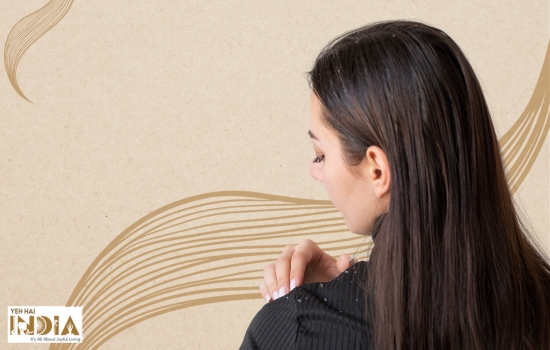
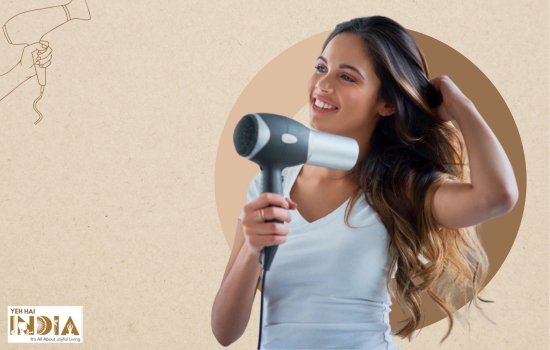
The right way to blow dry hair at home
For many of us, a blow dry hair after a haircut was the primary attraction of the entire exercise. We would not touch a drop of water to the hair the next couple of days, just to retain the styled appearance. Little did we know it was not some magic but could be done anytime at home with the right products and tools.

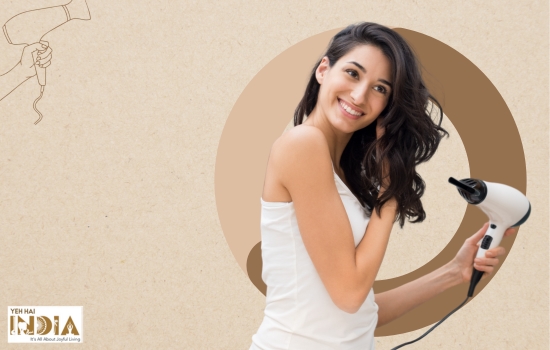
Now when a hair dryer is a common household appliance, many of us still cannot achieve salon-like flawlessness easily. This is because we are not using the right techniques, tools, or products.
Read on to find out the different ways to style your hair using a blow dryer, depending on your hair texture and thickness.
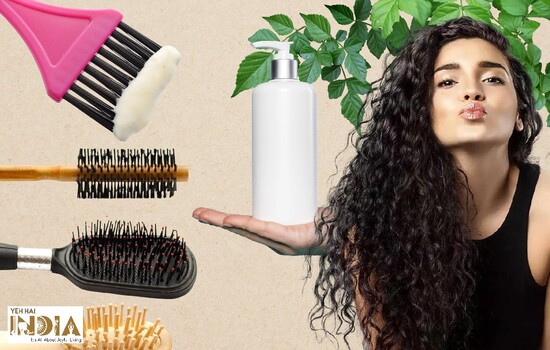
Things You Need To Blow Dry Your Hair at Home
The first thing to consider is the different tools and products you need when blow-drying your hair at home. They play a key role in the longevity of the styling and ensuring minimal damage. Here are the tools you will need:
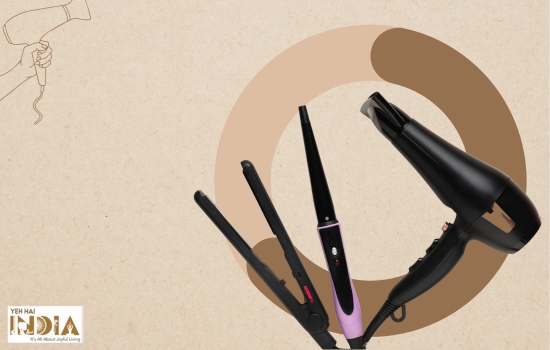
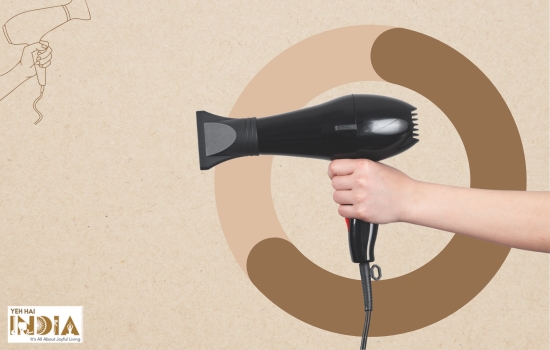
- Blow dryer: at least 1200 watts with cold-shot settings
- Paddle brush if you have thick, long, and wavy hair
- Large barrel round brush to add volume to longer hair (beyond shoulder length)
- Medium barrel round brush to add volume to short or shoulder-length hair
- 2-4 clutches
- Rat-tailed comb
- Wide-tooth comb
The styling will not hold without the right products. Here’s what you will need:
- Heat protectant spray
- Setting spray-light hold (optional)
- Hair serum
When is the right time to blow dry?
Though you can blow dry the hair any time you want, the best styling is possible when your hair is 60-80% dry. So, blow-drying after washing and towel-drying the hair would be the right approach to getting long-lasting and beautifully styled hair.
It is best to shampoo the hair well and use a good conditioner so that you can run the brush smoothly through the hair without pulling and tugging at the roots. Also, the styling appears more voluminous when your hair and scalp is clean.
Steps to Follow For a Perfect Blow Dry
Blow-drying the hair would take 15-20 minutes at most if done correctly. Here are the steps to do the blow-drying correctly in detail:
1. Section the hair depending on thickness
The right way to blow dry at home starts with sectioning the hair perfectly. The number of sections depends on the thickness of your hair.
- Each section should be approximately 2-3 square inches of area.
- Start making the sections from the top of the head and proceed downwards.
- Use a rat-tail comb to precisely separate each section. Later this will ensure you do not snag and pull at the hair roots and cause breakage.
- Secure each section with a separate clutch clip and ensure they do not open up.
2. Apply heat protectant to individual sections before blow-drying
The next step is to ensure protection for the hair to minimize heat damage. You can easily do this using a good quality heat protectant spray. Avoid oil or serum heat protectants as they often cause burning when you use a hot tool on the hair.
Spray the heat protectant liberally on each section right before you style it. Comb through the section to detangle it thoroughly before you start using the blow dryer.
3. Brush in right-hand and dryer in left-hand
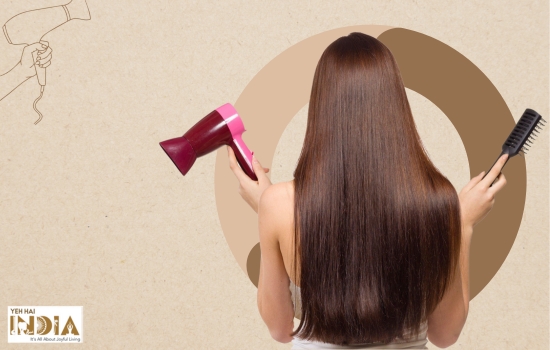
Here comes the tricky part- managing both the brush and the dryer simultaneously. Here’s how you can do it:
- Start blow-drying from your left side to get comfortable with the process- it is easier to reach the left side of your head if you are right-handed and vice versa.
- Start with a section at the base of your neck. Fix the brush in your right hand underneath a section of the hair at the root.
- With your left hand, hold the blow-dryer at 90 degrees above the hair section, at the root.
- Start blow-drying from root to tip, moving the dryer through the entire length of your hair pointing downwards.
- Simultaneously rotate the brush in your palms while moving it downwards in parallel to the motion of the dryer.
- Repeat this 2-3 times till the strand is entirely dry from the roots and has a sleek shape.
- Finish and hold the style by cooling down the strand with a cold air shot.
4. Finish styling each section at a time
Move on to the next strand only when you finish styling one strand completely. This would prevent frizzes and make the styling appear sleeker.
- Always start styling the sections at the nape of your neck and then move upwards, in the same direction.
- It is best not to haphazardly style the section unless you have practice and familiarity with the direction of the hair growth.
- When you complete each section, finish off the styling by rolling them all together against the large-barrel round brush and cooling them together with cold air.
This way, there will be a sync in the direction your hair curls and it will frame the face better.
5. Keep the dryer on the move
The key to thoroughly drying the hair is moving the dryer against the length of your hair constantly. Always move the dryer from the roots to the tips of your hair. Dry the hair from the top of the scalp once and again lift the hair over the round brush from the roots. Then dry underneath the hair. This would ensure your hair is not wet underneath even when the surface is dry.
6. Always roll the round brush inwards
While blow-drying using a round brush, keep rotating the round brush inwards. The hairs would curl towards the face this way and gently fall around the face, framing it. This also ensures there is enough tension to the hair strand and the hair appears straight and sleek once it is dry.
7. Cool shot at the end
Once all the sections are dried thoroughly, cool the hair with the help of the cool shot settings. This makes the hair strands soft and also sets the hairstyle. The cool shot at the end makes the hairstyle last longer when the hair cools down.
8. Apply a serum for shine and moisture
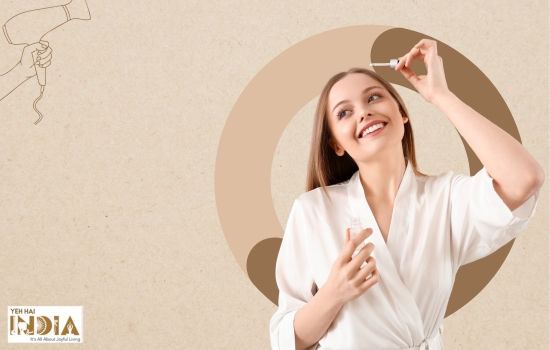
Finish the styling by applying a light hair serum to the strands. The serum replenishes the lost moisture caused by the dryer. Make sure you do not apply the serum at the roots or else the hair would get oily and the styling would not last as long.
9. Apply hair spray only if needed
Using a light-hold hair spray is enough to make your hairstyle last longer. However, hair spray can form a cast on the hair strands so it must be broken by combing the hair once you spray it. Applying hair spray is not necessary if you are not in a high-humidity area which is the primary cause behind frizzing and curling the hair.
Tips to use the hair dryer correctly
Here are a few things you must keep in mind while blow-drying the hair:
- Never blow-dry dehydrated hair.
- Use a paddle brush to get straight and sleek hair if your hair is too long and thick. Otherwise, only a round brush is enough.
- To add volume to the front section of the hair, you can simply roll the hair with a round brush towards the crown of the head and blow-dry at the root, upwards.
- Use a clean brush- remove torn hair and grime from the brush before using it. otherwise, it will make the hair greasy.
- If you have oily and curly hair and wish to retain that texture, use a diffuser to prevent frizzing. Also, use a hair mousse while the hair is still wet and then start blow-drying in this situation.
- Keep your hair away from the hairdryer’s vent where the hair can get caught and tear off.
- Use different nozzles of the blow dryer as required. The thinnest nozzle maximizes the airflow concentration. As a result, it is best suited to achieve straighter hair and better lasting hairstyle.
Wrapping up
Blow-drying the hair would not cause too much damage if it is done correctly. But ideally, it is best to let your hair air dry occasionally. The right way to blow dry the hair at home would ensure your hair looks party-ready all the time. The above-mentioned tips will help you make sure your hair looks healthy even when you are using heat tools and styling it occasionally.
Recommended Article: Onion Juice Magic: Complete Hair Care Guide Using Onion Oil
Frequently Asked Questions
- How often should you blow-dry your hair?
You can use the blow dryer every day provided you are using a heat protectant and drying the hair using the right technique.
- How long should you blow dry the hair?
You should not use a hair dryer for more than forty minutes at a stretch otherwise it would make the hair excessively dry and brittle.
- How to keep your hair healthy if you style it often?
Use hair oil occasionally and use a mild shampoo and conditioner to clean your hair. Also, use a hair serum to make it shiny and soft.
- Which is better- blow dryer or blow brush?
Blow-dryer is the classic choice that lets you create more lasting styles. Blow brush is more convenient as you can cut down the time and effort needed.